The Southwest isn’t an area you get many opportunities to visit, so when my good friend Kyle hit me up needing to burn some PTO, I told him to pack his warmest sleeping bag and a few water bottles. We were headed to the desert. Its a 10 hour drive to Zion from Denver, so we broke it up with a night in Moab.
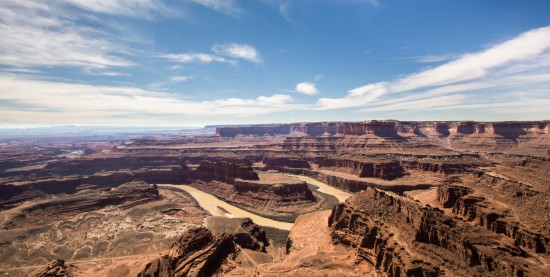
Having already visited Arches National Park, we didn’t do much exploring, but managed to swing down to Dead Horse Point (pictured below). The best time to photograph this is mid-day, or late evening. The mid-day shot will give you less shadows in the canyon, but a dull sky. If you wait until dusk, you’ll get good-even lighting throughout and maybe even a sunset. Time didn’t permit for us to grab the evening shot this go round.
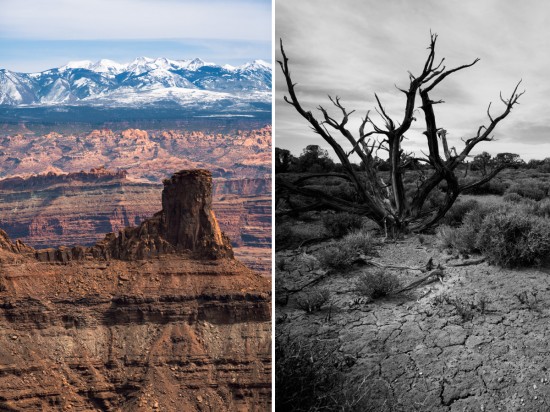
This second shot because its awesome in a geographical kind of way. The foreground is Canyon Lands, which is essentially the Grand Canyon on a smaller scale. The middle area is Arches National Park, or also known as Moab and the mountains in the back are the La Sal Range. After grabbing these photos, we headed back into Zion for a chilly nights sleep next to the Colorado River.
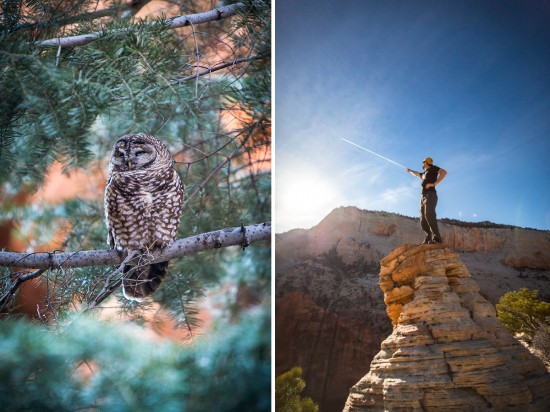
The next morning, we made our way into Zion National Park. After a quick unpack, we then began our climb of Angel’s Landing, which is about 4 miles round trip, but features a considerable elevation gain and lots of exposure. Its not the worst hike I’ve been on, but its not your average tourist National Park hike either. Reaching the summit in less time than we originally planned, we had a few hours to burn before light levels were photographer friendly. That is when we ran into Mr Owl and some jet trails.
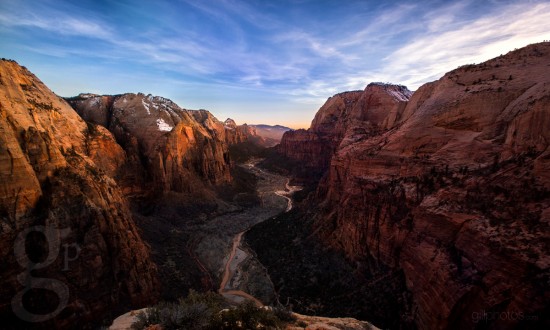
Three hours later, it was time. With the last remnants of the sun striking the eastern canyon walls, the peaks were glowing red.
This next shot is of The Watchman, which is one of Zion’s most photographed features. You’ll comonly see it photographed from the canyon floor though, and on fall day, you’ll have to fight with photographers for a spot on the bridge come 6:00 p.m.
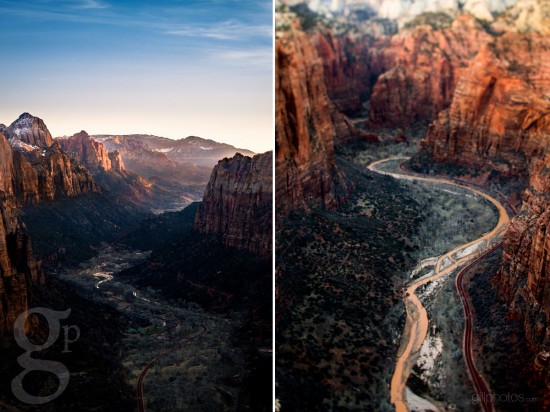
Doing a 180, this photo shows the Zion canyon road heading north into The Narrows. Again, as the sun falls below the canyon walls, it gives a nice even exposure. No harsh shadows or distracting elements to work around here.
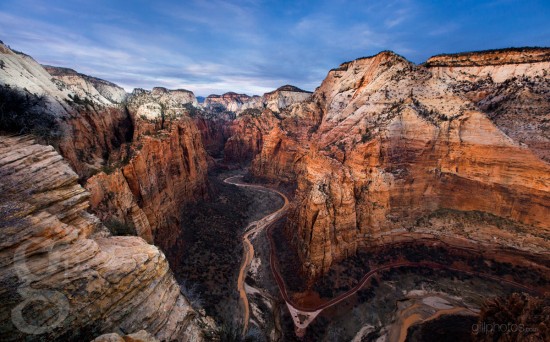
The only bad part about shooting in the evening, is you have to hike out in the dark. Headlamps are a lifesaver here. That next morning, I managed to beat the sun out of bed in hopes of a sunrise, but nothing came of it. Not a cloud in the sky, so I headed back to camp and planned out our next adventure. However, with high water levels and no spring blooming, the photography opportunities weren’t as abundant as I had originally hoped. So we packed up and headed south to Page, AZ.
Having seen a photo some years ago of Horseshoe bend, it inspired me to take this shot of Taylor Creek in Westcliffe last summer. Wanting to see the real thing, we hiked our way down. At this point, the Colorado River has passed through Lake Powell, which eliminates the muddy water and transforms it back into its original state. The best time to photograph Horseshoe Bend is from 11:00 am to 2:00 pm when the sun is at its highest, reducing the shadows on the water and canyon walls.
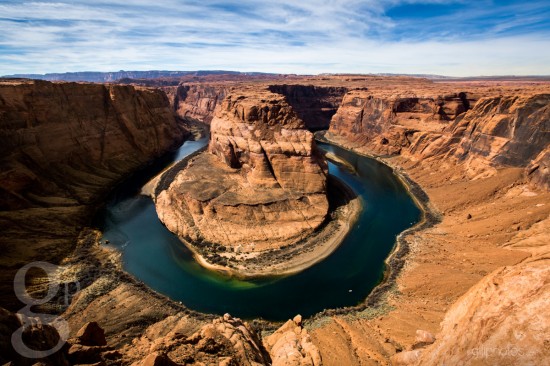
Shortly after that, we headed back into town and met up with our tour guide company to photograph Antelope Canyon. It is required by the Navajo Indians that you use a tour company to walk the canyon. There have been several instances of death from flooding in the past, and unfortunately, the canyon has been suspect to some very odd vandalism. Using a tour guide, the cost per person was around $30, however the canyon is one of the most impressive feats of nature I have ever seen.
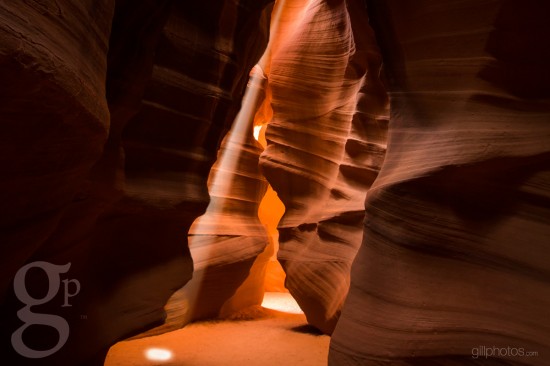
If you want some awesome photographs, make sure to bring a tripod. Light level inside the canyon are very low. Most of my shots were 1/4th of a second, at f/8 with an ISO setting of 1600. As you may be aware, 1/4th is very difficult to hand-hold. Using flash inside the canyon wont get you anywhere either. It may seem cumbersome, but pack your tripod. Also, I strongly discourage changing lenses inside the canyon as micro-dust is sure to make it inside your body and onto your sensor.
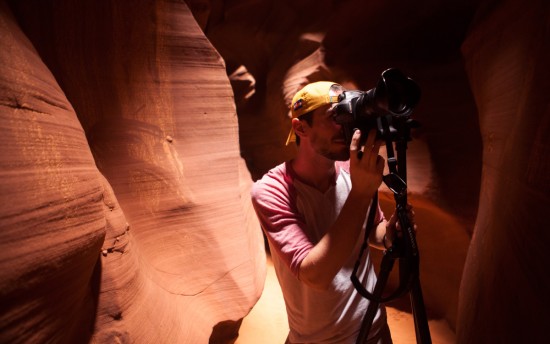
Once inside, be sure to take your time. Don’t spray and pray, but rather think out your shots. Try to avoid hot spots or direct lines of sight to the sun too. They will be impossible to rescue and will serve as bad focal points. Other than that, enjoy yourself and be glad that you took the time to walk through.
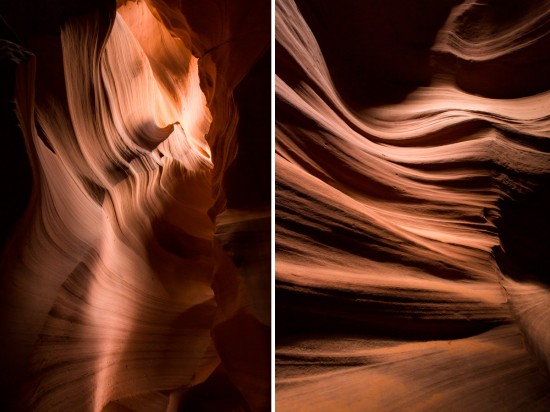
All in all, what a fantastic trip. I was able to snap a few shots that will eventually end up as very large prints on the wall. We didn’t run into any difficulties other than the absence of those epic southwest sunsets I was looking for, but what more can you ask for.
TOTALY FANTASTIC PHOTOGRAPHY !