The Barnwood Computer
A few months ago, Stacy and I sat down to a cup of coffee, and laid out the future of where we want to take Gillespie Photography. We both came to the decision that if we’re to really push everything to the next level as a husband and wife combo, she needs more involvement in the complete photography process. She loves shooting a wedding, but once its done, her camera goes back in the bag, and her photos randomly appear on the blog or printed in an album a month later. Its hard to grow as a photographer if you can’t see your mistakes, or finness an image as you originally saw it. Simple things such as cropping can play a big part into the overall production of your work.
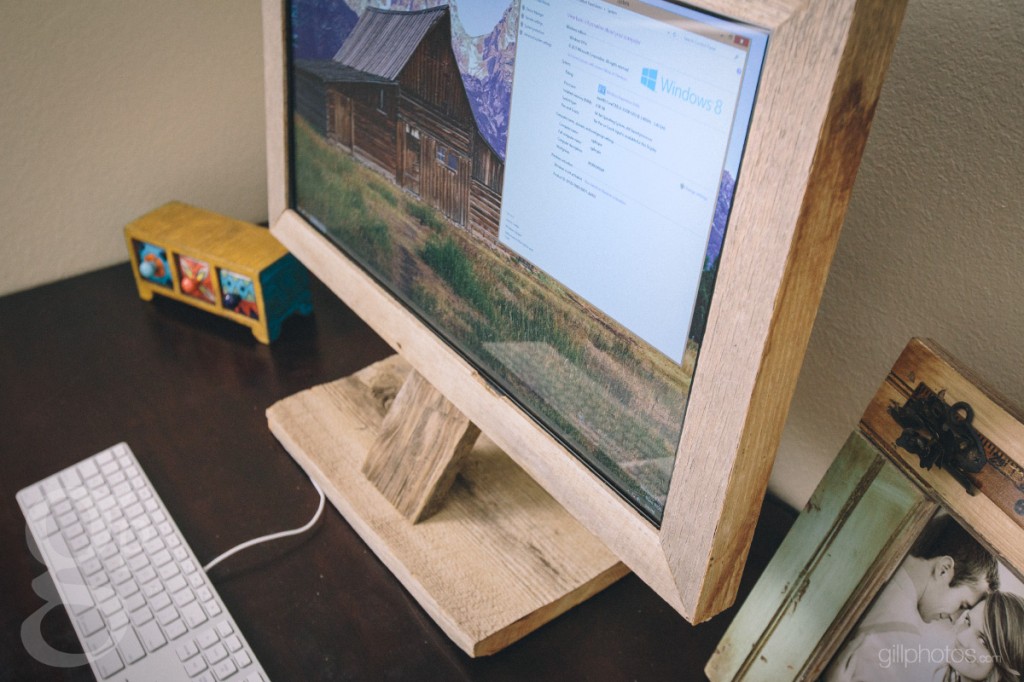
The problem, she didn’t really have access to a machine capable of handling 20 megapixel raw files. So, about a month ago, I got this crazy idea to build her out a Photoshop editing beast… but not just your average Photoshop editing beast. I wanted to give her something with personality and character. As some of you may know, she has a deep love for barns, so I thought, why not build it out of barn wood? After some research, I decided to make a go at it… and now she has a barnwood computer.
Having been a computer nerd ever since middle school, the idea of piecing together the hardware wasn’t complicated, it was putting it all in a custom enclosure that you normally don’t mix with electronics. I had to tackle cooling issues and figure out a way to mount all of the components like, the hard drive, motherboard and power supply which make up a computer.
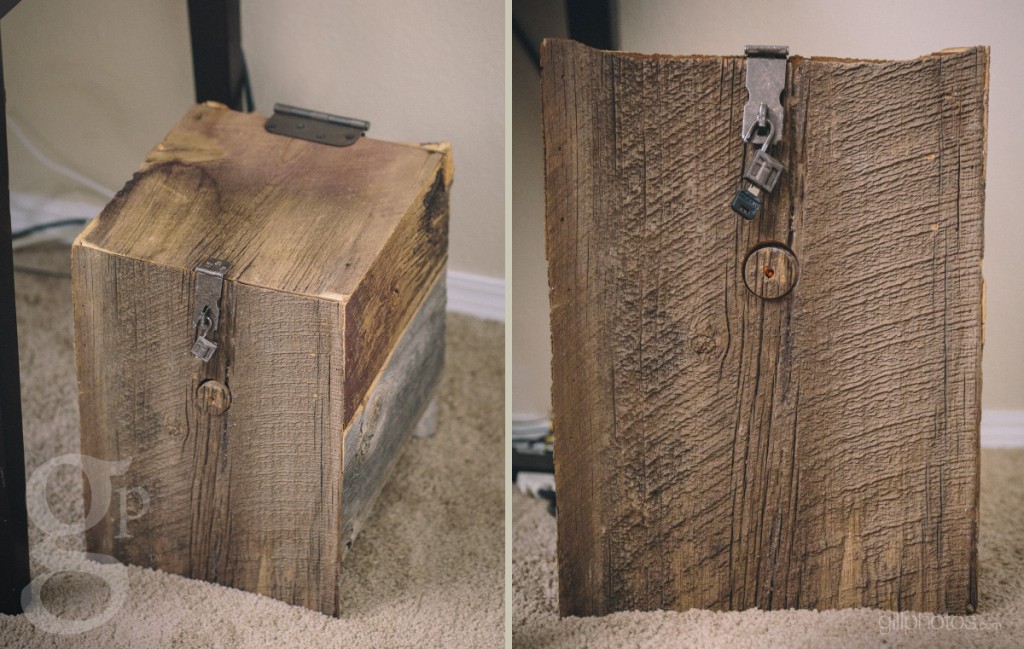
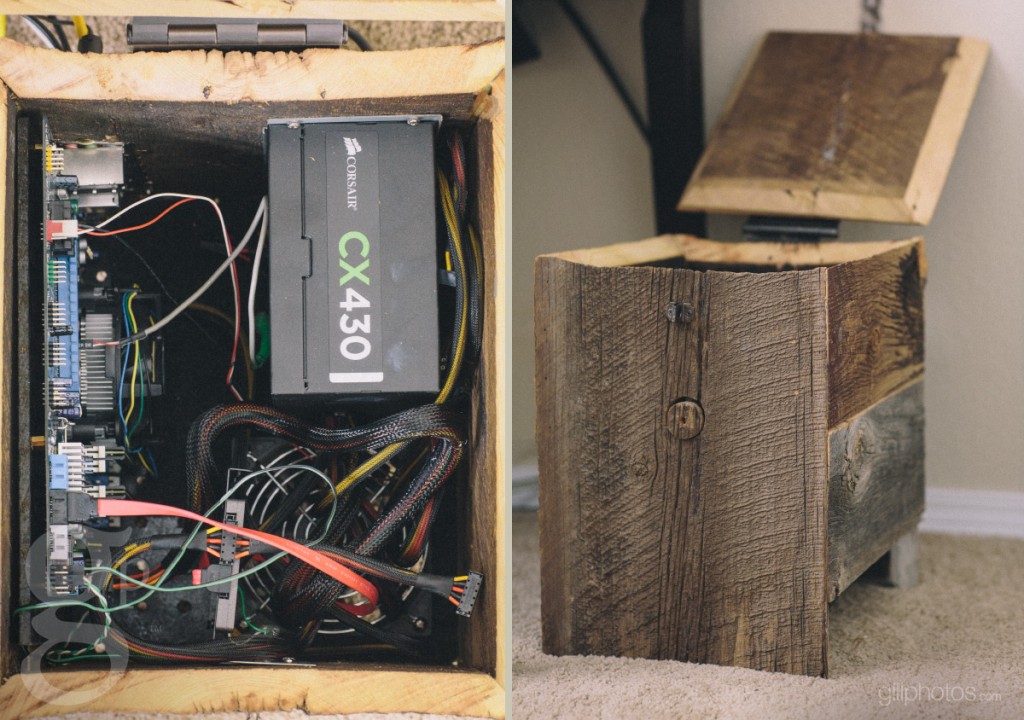
The Barnwood Computer Hardware
- Intel DH77EB Motherboard
- Intel i5 3570k Ivy Bridge 3.0Ghz Processor
- Corsair 16GB DDR3 PC1600 Memory
- Mushkin 128GB Enhanced SSD
- Corsair 430watt Power Supply
- LG 27″ IPS LED 2560×1440 Monitor
Being that photo editing doesn’t demand much in regards to graphics, the display is powered using the on-board Intel 4000 chip. Its more than adequate for Lightroom and Photoshop work. I decided against installing a CD/DVD/Blu-Ray drive as most everything we do is over the network or plugged in via USB.
The Barnwood Display
But why stop with the computer? I thought it would look weird having a barnwood computer sitting next to a glossy black LG monitor, so I ripped into a 27 inch IPS display, which was a little un-nerving, considering their cost.
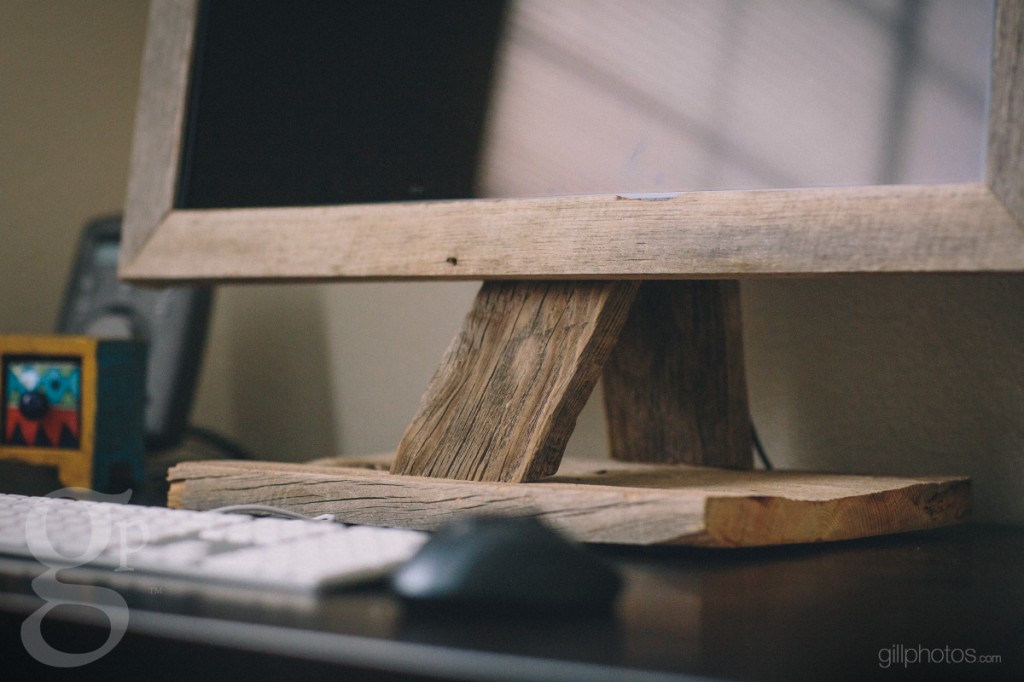
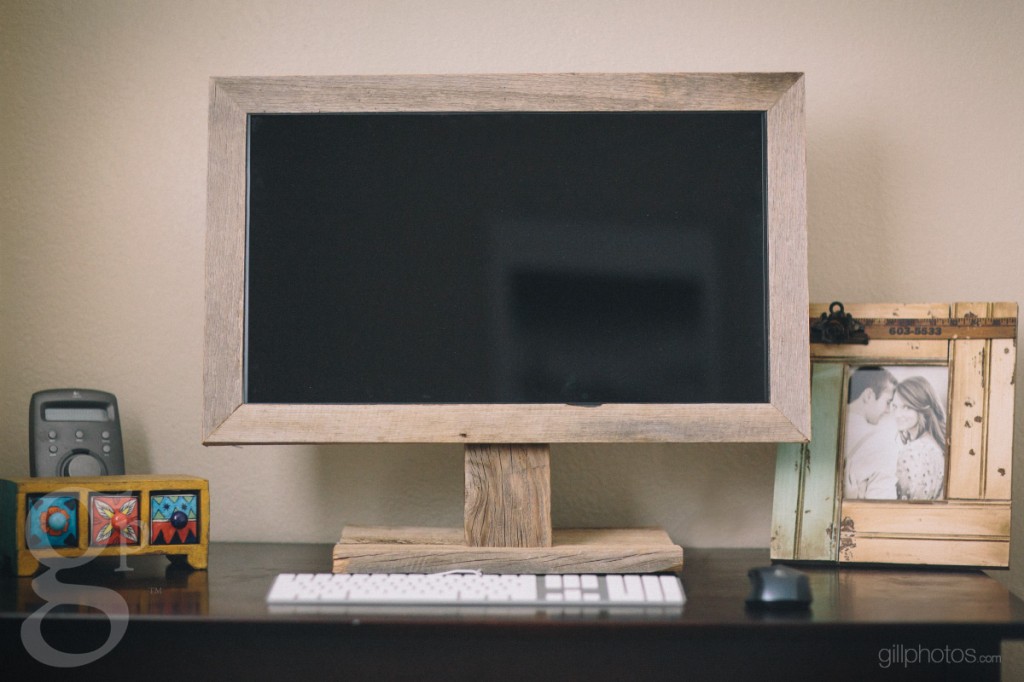
Time Involved & The Cooling Setup
In all, the project took about 20 to 25 hours to complete, and was done over the course of a few weeks. Having access to the right tools sped things up, and eliminated a lot of frustration. I ended up surprising her with it last week, and since then, she has stopped by every night to work with it. Soon enough, she’ll be over here every night :)
The end result was a success, and really special to her and I. Its made of wood that came from both of my Grandpas. The display frame was built using weathered oak, which proved a much better solution than traditional pine barnwood, given its strength & straight edges.
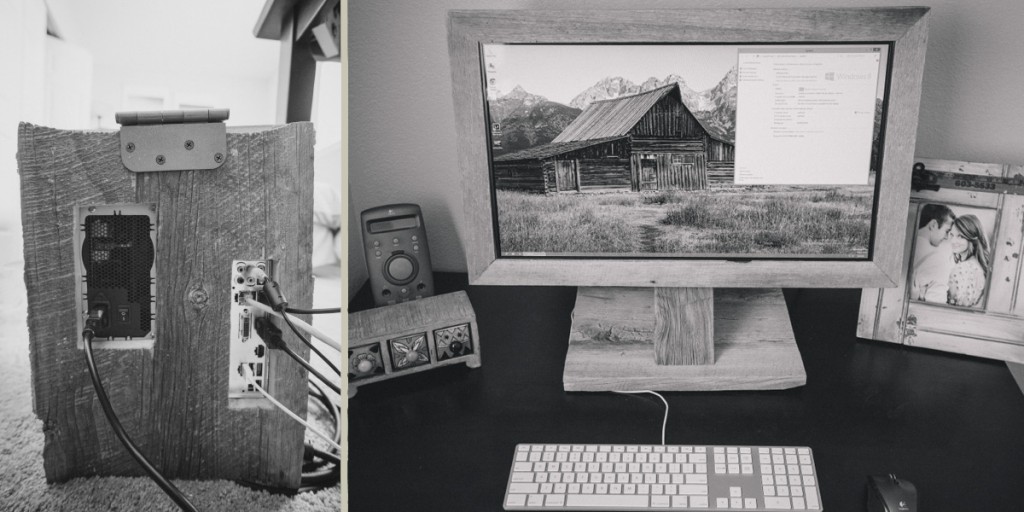
For cooling, I have the stock Intel heat sink and fan. I made the bottom of the chassis using peg-board, which allows fresh, cooler air to be sucked in, and pushed out through the power supply. To assist with air flow, I cut a 120mm slot, which I then mounted a fan to. I then lined the peg-board with foam, to prevent dust build up. Outside of cooling, I build a custom motherboard mount tray, power button with LED and power supply mount using some parts from an older PC chassis.
After 30 minutes of Prime 95, I saw case temps hold around 40 degrees Celsius, with a peak CPU temp of 68… which is more than fine by my standards, considering Intel’s approved thermal shutdown temp is 90+.


Bloody fantastic
good stuff
fascinating! I am impressed Trent – lucky Stacy!
That is spectacular!
That is one very awesome build! Well done.
Nice. Only thing missing is the “Orée Board” Wireless Wooden Keyboard.