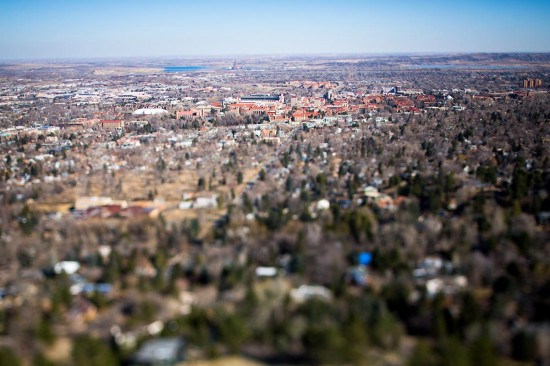
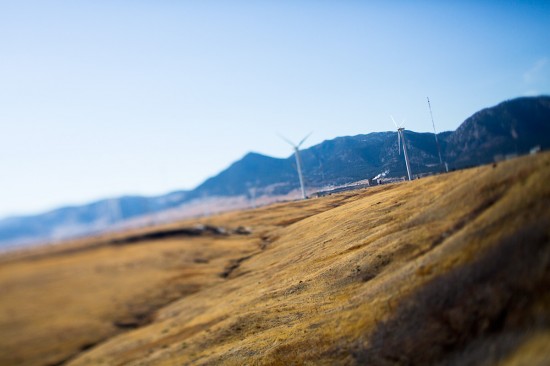
When people see a titled photo (like below), they immediately think tilt/shift, but really, the effect is a result of just tilting. Most TS-E lenses have both functionality, which is why people throw the shift part into the title, but shifting a photo isn’t technically complex. The following tips are geared towards achieving a tilt effect.
Using a Lens or Photoshop for Tilt Photos
A tilted image makes things look miniature because it introduces a depth-of-field on a scene we would regularly not see it on. With the foreground and background being blurred, it seem like the subject or landscape is only a few feet away. You can achieve this using Photoshop or a lens with tilt functionality. Using a lens makes the process quicker and more genuine. Creating the tilt effect in post-processing is possible, but it takes time to perfect. The tips below will help miniaturize your scenes when using the a tilt-shift lens or software. However, our usage for the tilt-shift lens isn’t to miniaturize things, but instead to create interesting tilted wedding photos.
When viewing miniature objects, they commonly have harsh shadows because the light source is close and there isn’t much room for falloff. Shooting at 11:00 or 2:00, the sun provides enough power and a decent angle to give even your biggest objects that sharp shadow we need. The photo below is a good example of this.

Again, when viewing miniature objects, your distance to subject is relatively small, ruling out the possibility for foreground objects. If there was a lamp in your way, you would probably move it. Also, when things are small, you most always look down onto them. Try to get above your scene.

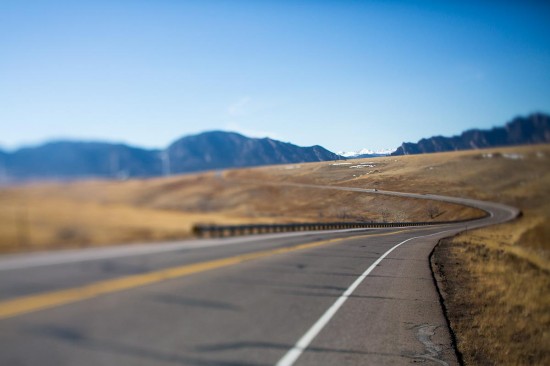
The photo below isn’t a very convincing miniature scene. At the bottom of the frame, the road is full size, suggesting the photographer was standing directly on it. If this really was a miniature scene, this vantage point would be impossible.

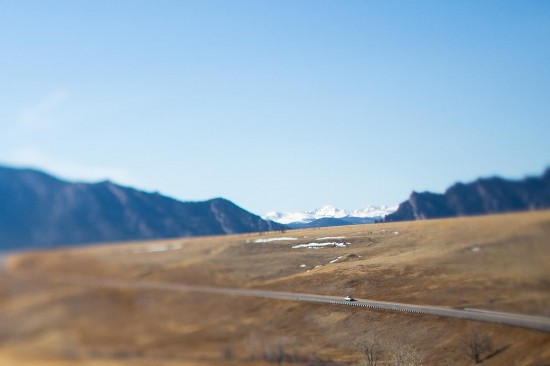
By cropping the image, we get closer to believing the photo was taken from the correct angle.
